1. Chuẩn bị môi trường
1.1. Cài đặt các công cụ cần thiết
sudo apt-get install git-core gnupg flex bison build-essential zip curl zlib1g-dev libc6-dev-i386 libncurses5 lib32ncurses5-dev x11proto-core-dev libx11-dev lib32z1-dev libgl1-mesa-dev libxml2-utils xsltproc unzip fontconfig
sudo apt-get install bc coreutils dosfstools e2fsprogs fdisk kpartx mtools ninja-build pkg-config python3-pip
sudo apt install python-is-python3
sudo pip3 install meson mako jinja2 ply pyyaml dataclasses
1.2. Cài đặt repo tool
mkdir -p ~/.bin
curl https://storage.googleapis.com/git-repo-downloads/repo > ~/.bin/repo
chmod a+rx ~/.bin/repo
echo 'PATH="${HOME}/.bin:${PATH}"' >> ~/.bashrc
source ~/.bashrc
1.3. Cấu hình git
git config --global user.name "your name"
git config --global user.email "your email"
2. Build Android 13
2.1. Download mã nguồn Android 13
cd
mkdir -p aosp/source/
cd aosp/source/
repo init -u https://android.googlesource.com/platform/manifest -b android-13.0.0_r61
curl --create-dirs -L -o .repo/local_manifests/manifest_brcm_rpi4.xml -O -L https://raw.githubusercontent.com/raspberry-vanilla/android_local_manifest/android-13.0/manifest_brcm_rpi4.xml
repo sync
sudo apt-get update
- mkdir -p aosp/source/: Tạo thư mục chứa mã nguồn Android.
- repo init -u https://android.googlesource.com/platform/manifest -b android-13.0.0_r61: Khởi tạo repo chứa mã nguồn Android.
- curl –create-dirs -L -o .repo/local_manifests/manifest_brcm_rpi4.xml -O -L https://raw.githubusercontent.com/raspberry-vanilla/android_local_manifest/android-13.0/manifest_brcm_rpi4.xml: Thêm manifest tùy chỉnh cho Raspberry Pi 4.
- repo sync: Tải về mã nguồn Android.
2.2. Build Android 13 Image
. build/envsetup.sh
lunch aosp_rpi4-userdebug
make bootimage systemimage vendorimage -j$(nproc)
./rpi4-mkimg.sh
- . build/envsetup.sh: Thiết lập môi trường.
- lunch aosp_rpi4-userdebug: Chọn cấu hình build cho Raspberry Pi 4.
- make bootimage systemimage vendorimage -j$(nproc): Build các image của phân vùng boot, system, và vendor.
- ./rpi4-mkimg.sh: Build image hoàn chỉnh cho Raspberry Pi 4.
3. Build Kernel
3.1. Download mã nguồn Kernel
cd ..
mkdir -p kernel/
cd kernel/
repo init -u https://android.googlesource.com/kernel/manifest -b common-android13-5.15-lts
curl --create-dirs -L -o .repo/local_manifests/manifest_brcm_rpi4.xml -O -L https://raw.githubusercontent.com/raspberry-vanilla/android_kernel_manifest/android-13.0/manifest_brcm_rpi4.xml
repo sync
- mkdir -p kernel/: Tạo thư mục chứa mã nguồn kernel.
- repo init -u https://android.googlesource.com/kernel/manifest -b common-android13-5.15-lts: Khởi tạo repo chứa mã nguồn kernel.
- curl –create-dirs -L -o .repo/local_manifests/manifest_brcm_rpi4.xml -O -L https://raw.githubusercontent.com/raspberry-vanilla/android_kernel_manifest/android-13.0/manifest_brcm_rpi4.xml: Thêm manifest tùy chỉnh cho Raspberry Pi 4.
- repo sync: Tải về mã nguồn kernel.
3.2. Build Kernel Image
BUILD_CONFIG=common/build.config.rpi4 build/build.sh
4. Cài Android lên thẻ nhớ SD
4.1. Cài đặt Imager
cd ..
snap install rpi-imager
4.2. Thay đổi quyền sở hữu của Android Image
sudo chown user:root source/out/target/product/rpi4/RaspberryVanillaAOSP13...
- source/out/target/product/rpi4/RaspberryVanillaAOSP13… : Đường dẫn tới Android Image
4.3. Flash Android Image
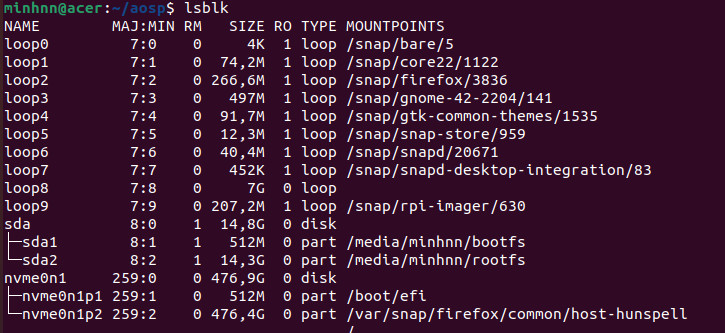
- Cắm thẻ SD vào máy và umount thẻ. Ví dụ: sudo umount /media/minhnn/*
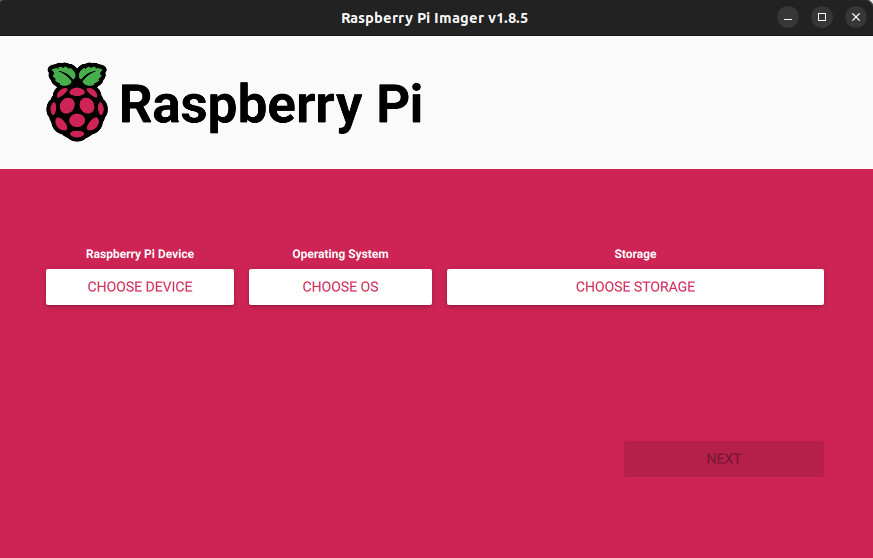
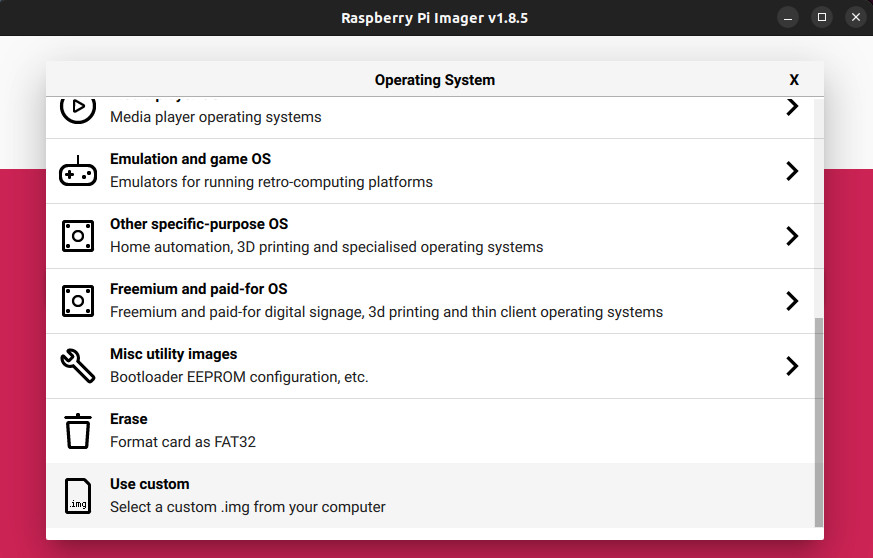
- Mở Imager, chọn “Chose OS”
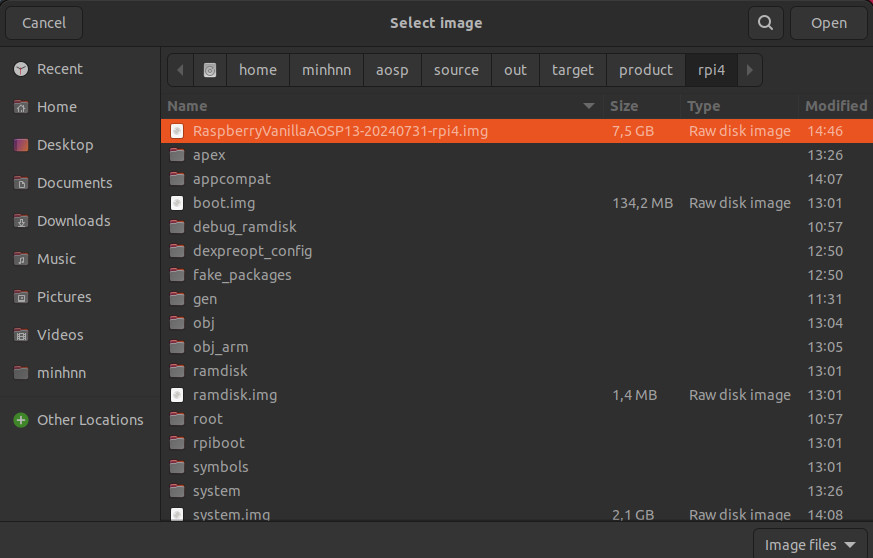
- Tìm đường dẫn tới file Android Image
- Chọn “Chose storage” và chọn thẻ SD
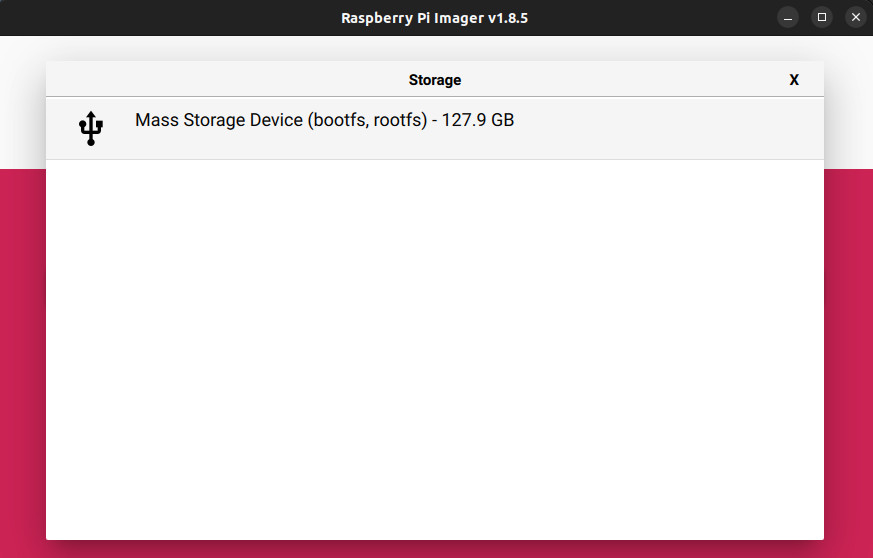
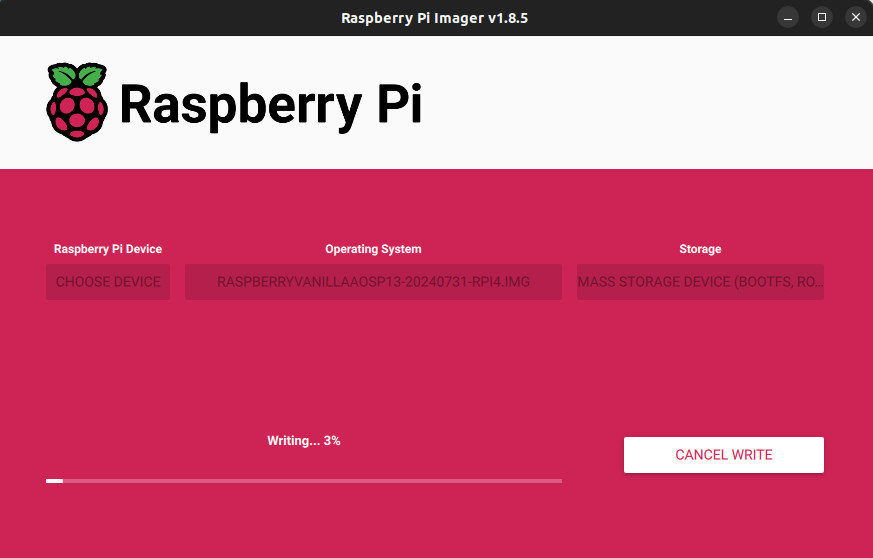
- Chọn “Next” và đợi thẻ được ghi xong
4.4. Flash Kernel Image
- Rút ra cắm lại thẻ SD để thẻ được mount lại.
- Copy Kernel Image vào thẻ vào file boot
cp kernel/out/dist/Image /media/minhnn/boot/
sync